I promised a long time ago to make a tutorial about using stamps on shrink plastic and make the cutest thing with it, for example brooches, earrings, key chains etc. So here we (finally) go.
What do you need to get started?
Shrink plastic sheets (I used Shrinky Dinks but there are a lot of brands available)
Small scissors. hole punch
Rubber stamps
Inkpads
Sandpaper, fine grade
Oven & an cooking tray, baking paper
Jewellery findings
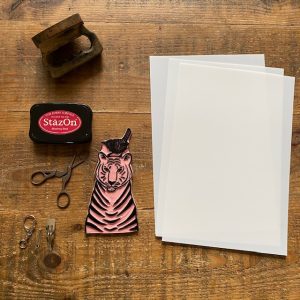 The materials
There is a large range of plastics to choose from. For example clear, white and black. I tend to like the white as I find it gets the best results for me with my techniques but I have seen some amazing things done with other colours including the clear.
The plastic shrinks approx. 45% of its original size so make sure your designs are a lot larger than the size you want them to end up being.
Tip: Use fine-grade sandpaper and lightly sand your plastic, in this way the plastic holds the colour better. Some kinds of plastic has a rough side and a smooth side, best the use the rough side and also sand that side lightly.
Step 1:
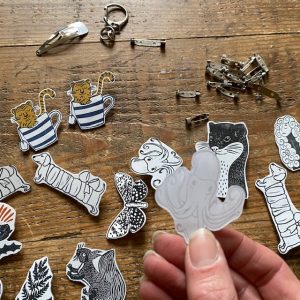
Stamping the plastic. Rubber stamps are ideal for using on shrink plastic. However, it is important to keep in mind that the plastic shrinks to a fraction of its original size when deciding what stamps to use. So use stamps large enough.
The best type of inks to use are pigment inks and permanent inks such as Stazon; however, be aware that not all inks perform the same on all brands of shrink plastic. One of the problems that may occur is the ink not setting, even after shrinking. A coat of varnish can help to address this, but the item will be vulnerable to smudging until it has been sealed. Best tip is: Experiment! Find the ink that suits you plastic best.
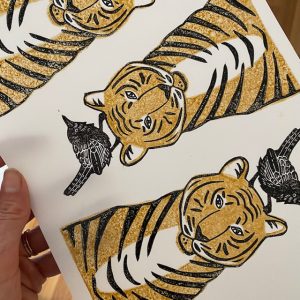 Don’t be scared when the ink doesn’t cover 100% The plastic will shrink and the ink looks much nicer after shrinking 🙂
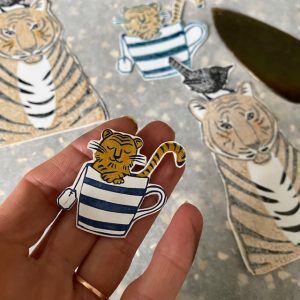
Here I used a double layer stamp. But you can use a normal stamp as well and colour it with permanent marker or pencils.
Tip: Be patient …and let the ink dry for a while (best over night) so you are sure it will not smudge when you gonna cut the plastic.
Step 2:
Cutting the plastic!
Are you sure the ink is dry?? Great then it’s time to cut. Use a bigger scissor and cut the plastic in large pieces so it’s easier to cut the design nicely with a small scissors.
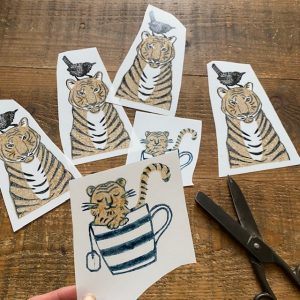 Roughly cut
Step 3:
Take a small scissors and cut nicely and very gently the design. Warning: the plastic can tear easily so be very gently. For small details use a knife.
Tip: If you want to make jewelleries from the plastic designs this is the time to use a hole punch to cut your hole to place your o-ring in when attaching to the chain etc. Do this before you shrink, that way no drilling into the delicate tin shrunk plastic!!
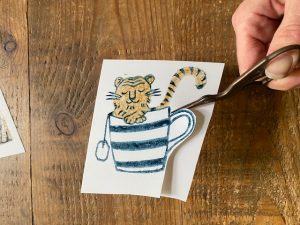 Use the smallest scissor you have!
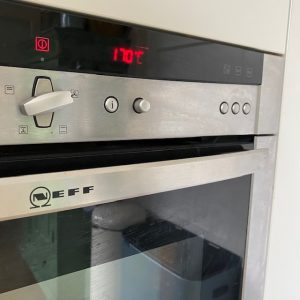
Step 4:
The fun part!! Oven cooking time
Place a piece of baking paper on an tray and place the cut out plastic on it.
Put the tray in a preheated oven.
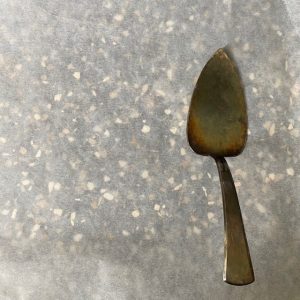 Handy tool..the cake-server!
Tip: Do not over bake as the plastic may stick
 First one came out the oven…next please!
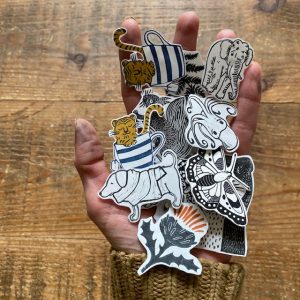
 Adding the pins. I used a glue gun.
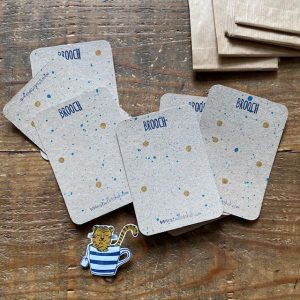 Stamped back cards!
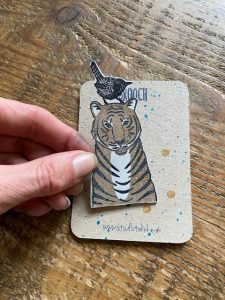 How cute is that!
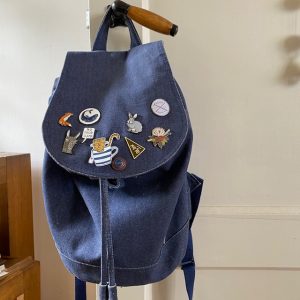 Shrink plastic brooch and pins mixed on my backpack!