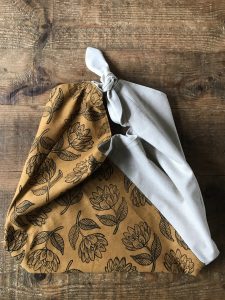
The tie-up bag or bento bag is from origin Japanese. These bags are just bundles wrapped Japanese cloth (furoskiki) used for wrapping. The bento bag has endless possibilities. Take it to the market for fruit and vegetables. Or use it as storage for knitting and crochet supplies… Or whatever you like..
The bag normally consists of only two triangles but I wanted to make the bag a little bit different and a bit more Tokek. You don’t have to be very experienced in sewing to make this bag.
If you choose no to line the bag it’s actually very easy to do!
Project time: around 1.5 hour
Supplies: fabric (at least 1 x 1 meter) Better not to use stretchy fabrics
sewing machine (or needle and threat if you like to sew by hand)
scissors
iron
Step 1:
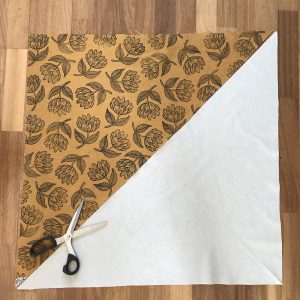
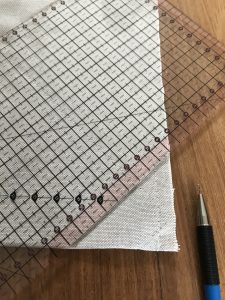
Cut out a square 80 x 80 cm (30 x 30 inch)
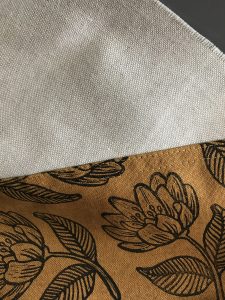
Cut the square in half diagonally into two triangles (I used two piece of fabric, one plain linen and one piece of hand printed linen)
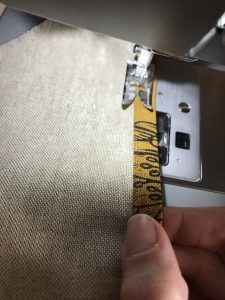
Step 2: Fold and iron the shortest sides of the triangles with 0.5 cm (1/4 inch) hem
Fold and iron another 0.5 cm (1/4 inch) to hide the raw edges.

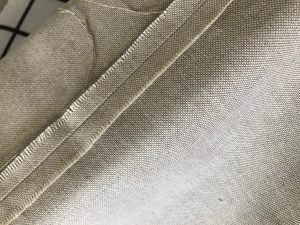
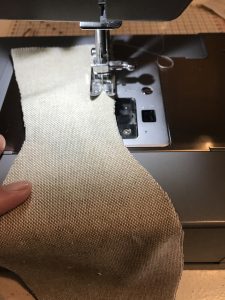
Step 3:
Sew the hem
Step 4:
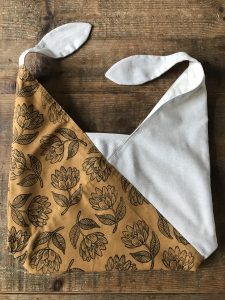
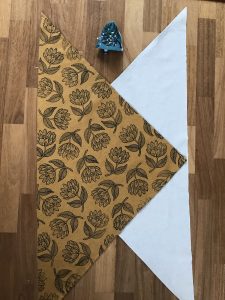
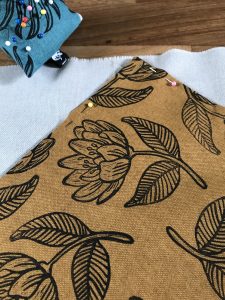
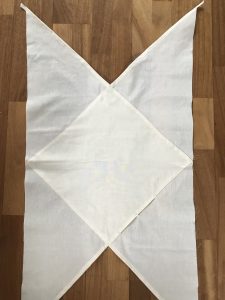
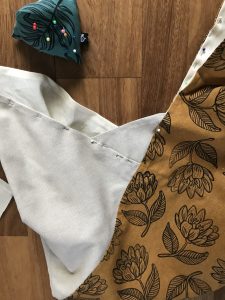
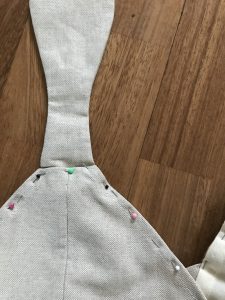
Place the triangles on top of each other like this and pin in place
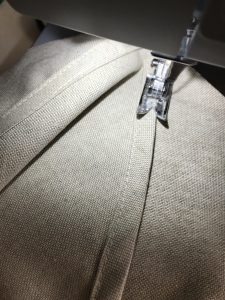
Step 5
Edge stitch the inside square. First one side then turn and sew the other side. So you can see the edge that you are sewing.
Step 6
If you choose to line the bag, repeat step 1 to 5. Choose a flexible and not to thick fabric, otherwise you can’t tie-up the bag anymore.
Step 7
Not lining the bag? Then you’re almost done. Fold your bag in half with the right sides together and sew the sides along both sides. Complete the sides with a zig-zag stitch or use a French seam. Finish of the tie-up parts, by folding and stitching a little hem, if they don’t look neat enough. The next step is your last one!!
Lining the bag? Cool! This is a bit more complicated..
Fold your bag in half with the right sides together and sew along both sides.Repeat this step for the lining.
Step 8
Mark a line with chalk or pencil 5 cm (2 inch) away from the bottom corners of the bag. ( Don’t forget to do this with the lining as well) Sew among this lines.
For the bag without lining this was the last step. Now your bag is ready to use. Love to see it! You can share it on Instagram if you like, use the hashtag #tokekbag
Step 9
Iron open all four seams. Flip the bag inside out….but don’t flip the lining!

Step 10
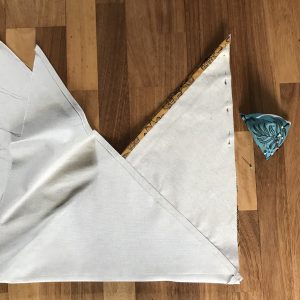
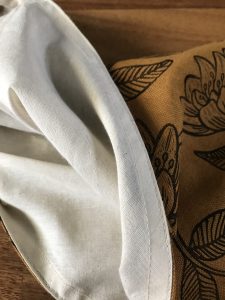
Fold the lining in the bag and pin the lining to the outer fabric.
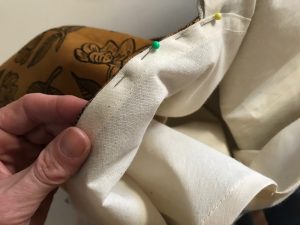
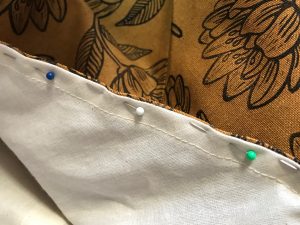
I used a triangle shaped fabric scrap to make the bag a bit more spacious (see picture) Just easily fold a piece of fabric together and pin it among the lining and outer bag.
Only pin not sew yet!!
Step 11
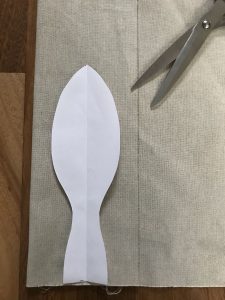
This step is not a necessary but it’s fun to make two flaps to tie-up the bag more easy and the most important thing it looks great 😉
Draw a shape like this on a A4 size paper. And cut it out. You can use a bit different shape as well, of course.

Place the paper pattern on fabric, pin it and cut it out with a seam of 1cm (0.5 inch) around. Cut 4 pieces!
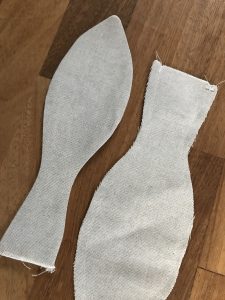
Sew two pieces around together but leave the bottom open. Turn the pieces. You can use the back of a pencil to gently push the corners. Iron them and now your 2 tie-up pieces are ready.
Step 12
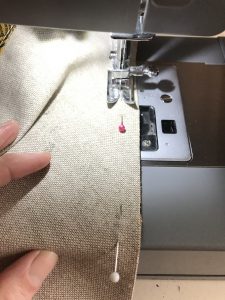
Place the tie-up pieces on the upper corners of the bag. Pin them on the right place (between inner and outer bag) and edge stitch the upper and inner fabric together.
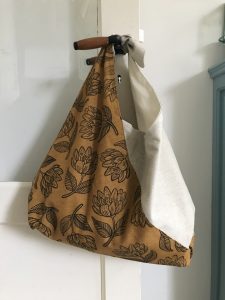
Step 13
And ready!! Hope you liked the tutorial! I’m super excited to see your bags.. maybe you like to share it on Instagram?! Use the hashtag #tokekbag