In this blog I’m going to explain how you can easily make a print from a rubber block.
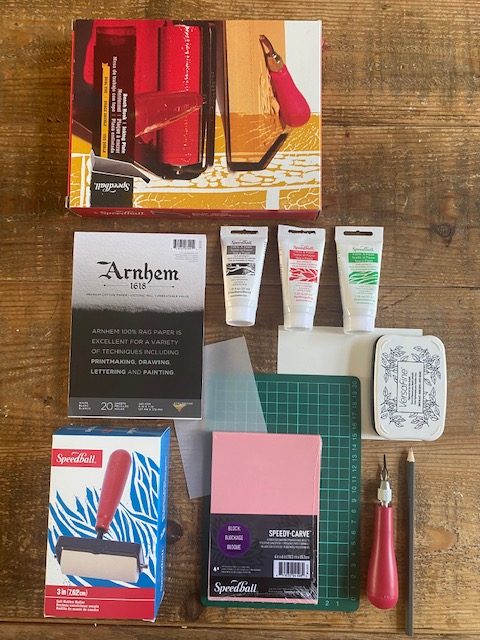
Material list:
Gouges: I used speedball and flexcut gouges for the blog. The speedball gouges are nice to start with. They are not expensive, they are sharp and there have different sizes (U and V shape) of blades in the red handle. Easy to store!
Rubber block: I used speedycarve here. I am a big fan of this. Perfect quality. The rubber doesn’t dry out and is very easy to cut. You can, of course, use another brand of rubber block.
Print paper: I used Arnhem 1618 paper in the blog. Paper is really something to experiment with in printmaking. There are so many different textures, colors and weight in print paper. Buy some loose sheets of paper and experiment so you will see soon enough what works best for you.
Block printing ink: I used Speedball fabric and paper block printing ink here. The advantage of this ink is that it dries quickly. After drying overnight, the prints are already dry enough to store. There are a huge number of different inks on the market. Water and oil based. In a tube or in a jar. Ink for paper or fabric etc.. Also for the ink, test which ink suits you and your project.
Roller: I find the soft rubber rollers of speedball very nice to work with. They hold the ink well and you can easily clean them after use. Rollers come in different sizes, materials and hardness.
Hand printing tools: I personally like to use a wooden baren for printing on fabric. Woodzilla sells flat and spherical barens. The flat ones are fine for printing on fabric (or with rubber stamps) and the spherical ones I use in the blog on paper. You can also use a wooden ladle for printing!
Optional:
A (hand) printing press is an essential if you are going to do a lot of printing. Woodzilla has presses in many different sizes! In the blog, I used the A5 press (the smallest one). The presses are super strong and can easily be stored (on its side). So even in a small studio or room you can easily store the press. The presses are height adjustable so you can print various materials..from lino, rubber to wood!
A sheet of clear/transparant paper is great for transferring the print.
Tip 1: use a sheet of (white) baking paper! This works fine also 🙂
Speedball has nice bench hook/ inking plates. You can safely cut your block on these plates and you can use them to roll ink on.
Optional is also a inkpad. You can use it to quickly try out a piece while you are cutting.
A black soft pen and a soft pencil are also handy to have around!

Let’s get started!
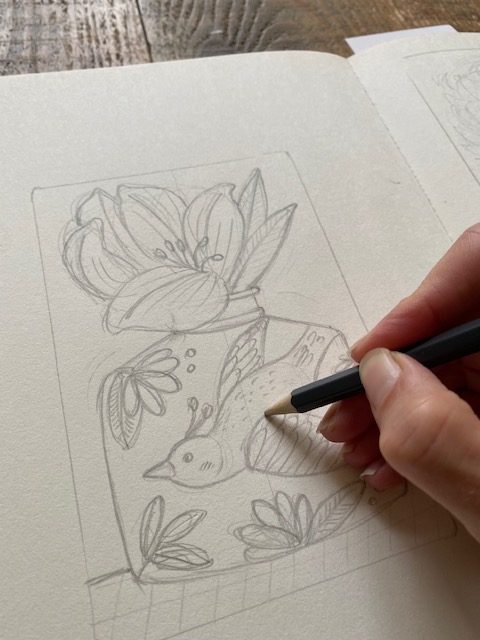
To start, you need to have an idea for your blockprint. Inspiration can be found anywhere, in nature, in museums or just around you. If you have an idea you can start making a sketch. If you don’t want to or can’t make a sketch that is no problem, you can also use a picture from a book or from the internet.
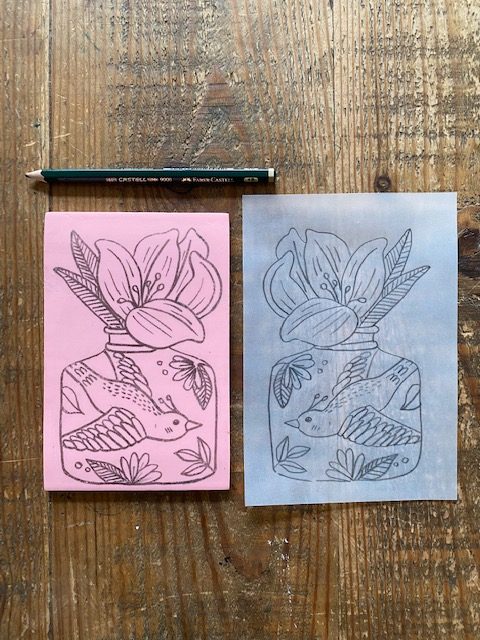
I wanted to make something typically Dutch…but no windmills or clogs for me 😉 So I took tulips and Delft blue as inspiration. I love carving flowers and birds so with that in mind I started sketching. You can make a design right away on the rubber but I don’t prefer that. So I made a sketch on paper first.
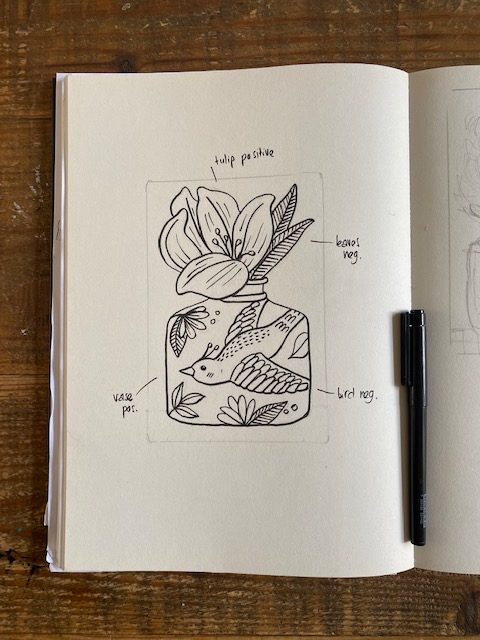
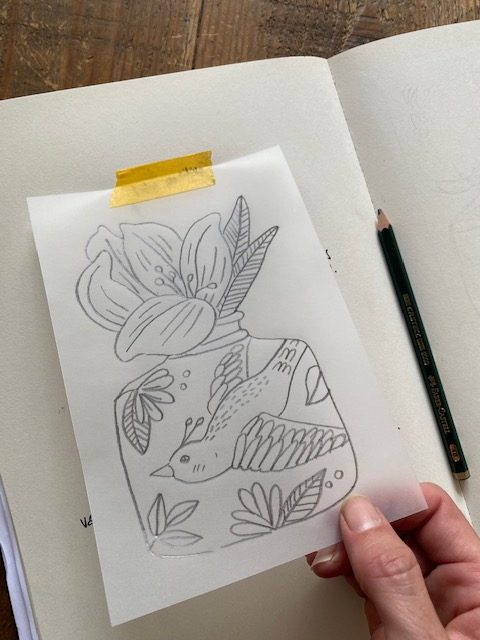
I traced the sketch with a soft black fineliner. Now you can see better what the definite lines will be and it makes tracing easier. Make sure your sketch fits the block in terms of size. If not, you could use a copier to enlarge or reduce the size of the sketch. I find it helpful to trace around the block in my sketchbook to make sure the size and proportions are right.
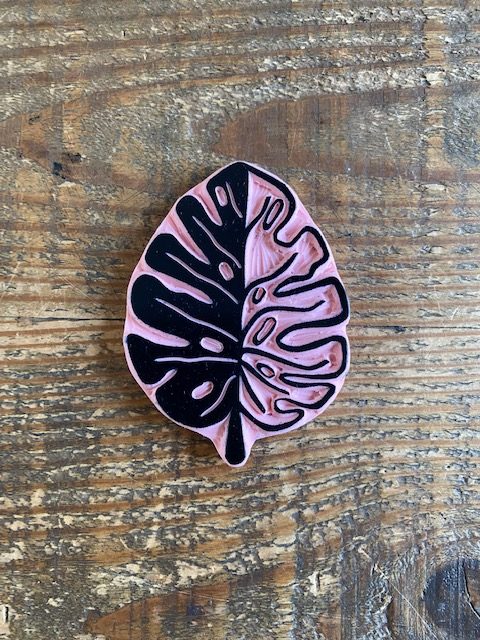
This is the stage where you have to start thinking about which areas you want to cut away. In other words, do you want negative or positive surfaces and where exactly. Negative means all areas that remain and are not cut away. So these are the places where ink will appear. And positive means the areas that are cut away. Here is an example of a stamp that has been cut into both negative and positive.
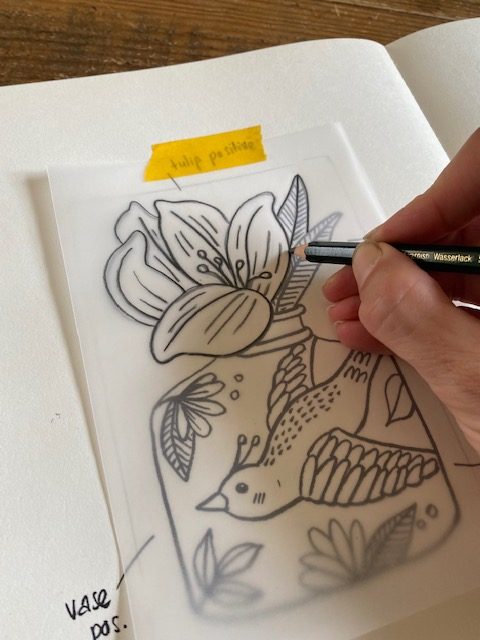
Now lay your sheet of clear paper (or baking paper) over the sketch and trace over with a soft pencil (2B or softer). It is helpful to secure the overlay paper with a piece of tape so it cannot slide around.
When everything has been traced, you can carefully loosen the tape again. Be careful not to go over the tracing paper with your hand because the soft pencil can easily stain.
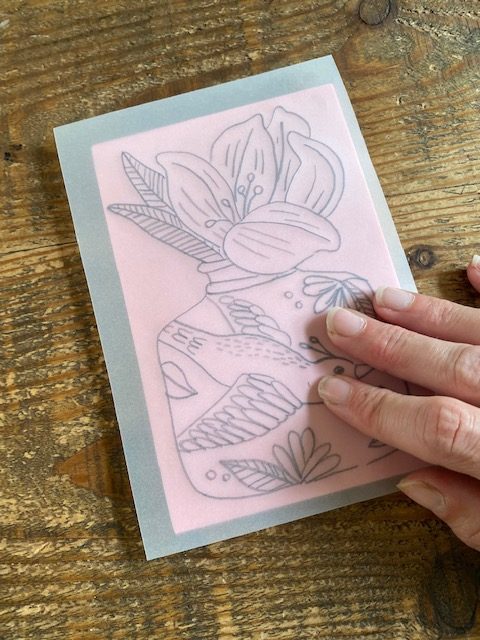
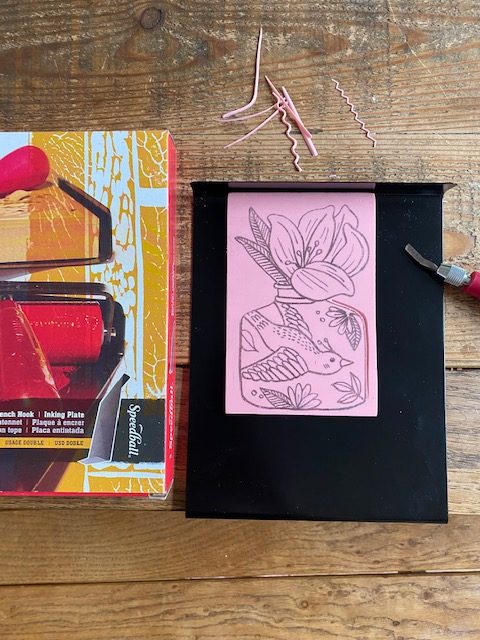
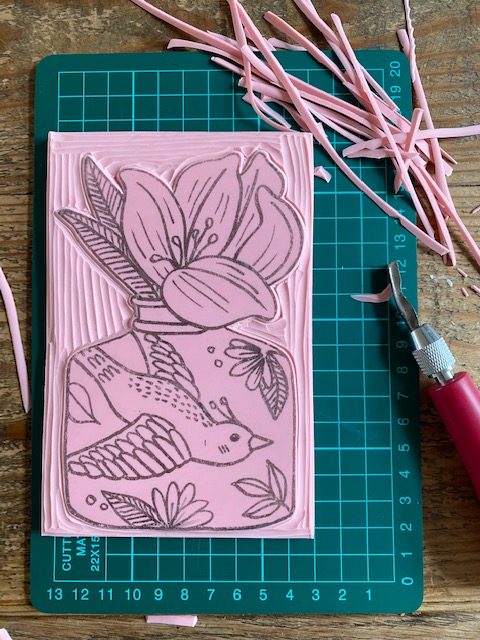
Now turn your tracing paper over and place it on the rubber block. Gently rub, without moving the paper, with your fingers or possibly the rounded side of a spoon or a folding bone.
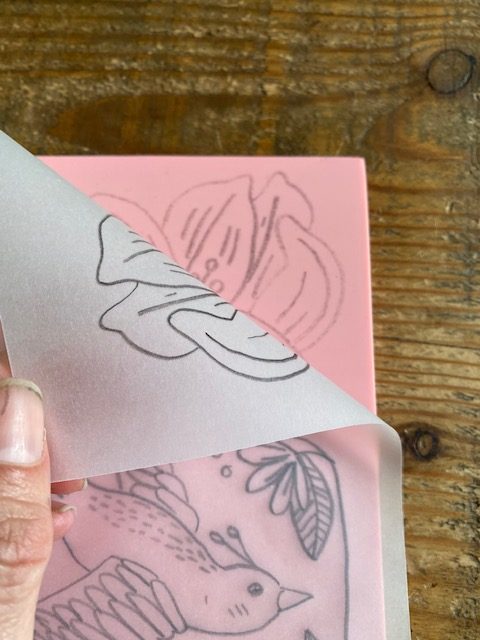
You will see that the print appears on the rubber without having to apply much force. If necessary, check by lifting a corner to see if the print is on it correctly. Watch out for shifting!
I darkened the image slightly with a soft pencil. So that you can see it better in the pictures. This is usually not necessary. You could also trace over the lines with a dark soft pen if you like.
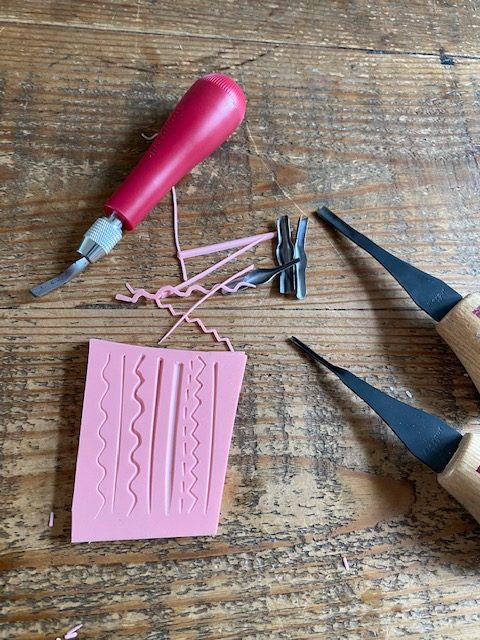
Before you start, with carving into your block, get to know your tools well. Make a test rubber with different exercises. For example, straight lines side by side with different blades. See what the differences are. Try making dashes or dots. Make lines that go from thick to thin. Try cutting circles, etc. You will see that practice literally makes perfect.
Tip 2: If you need to cut a curve or circle; keep your hand still and move the rubber gently under your hand. This way you can steer well and get smooth lines.
And then it’s really time to put your gouge in the rubber. I always start with the outside edge of the image myself. For this I use a V-blade. This way you get a clear a little deep line. Note: always cut away from yourself and don’t put your other hand in front of your knife. The gouges are very sharp!
Tip 3: Speedball sells great steel shelves (bench hooks) that you can put behind your table. This allows you to apply force without fear of sliding off across the table. Also, you can protect your other hand behind the raised edge. Furthermore, you can use the board as an ink plate. It is smooth and easy to wash!
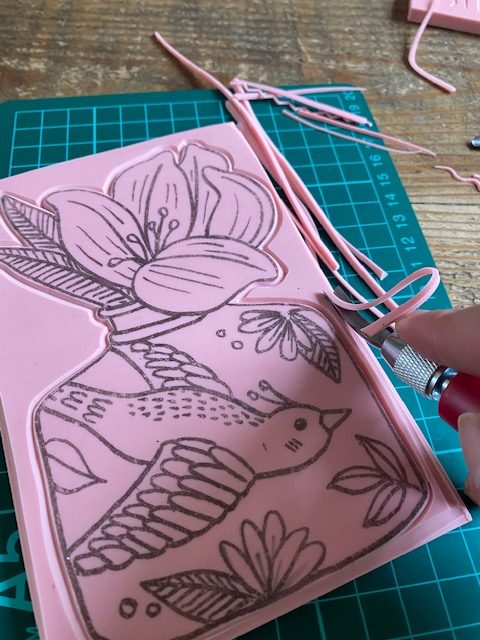
After the outline of the image, I remove all the rubber along the outside. Not too deep because I like some movement (through stripes) around the flowers. After your test print, you can always cut away deeper if you like that better. If you want you can even cut away the whole outside edge with a hobby knife.
Now that’s done it’s time for the inside. A smaller tool works well for the details. Look at your sample piece of rubber which knife will work best.
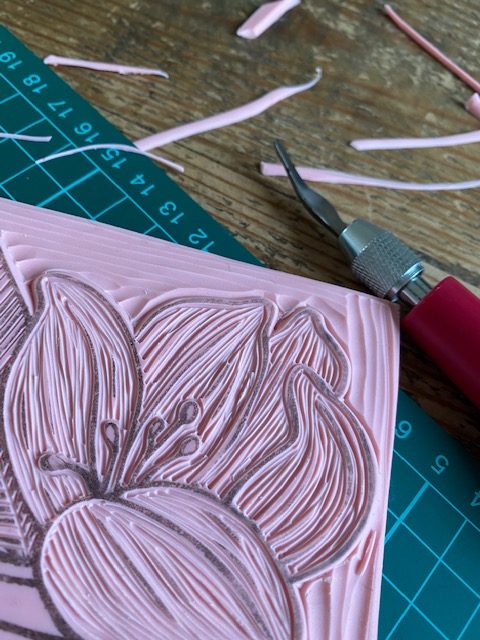
Here you need some patience. Slowly remove each line. Better to leave more rubber and remove some later than carve away too much at once.
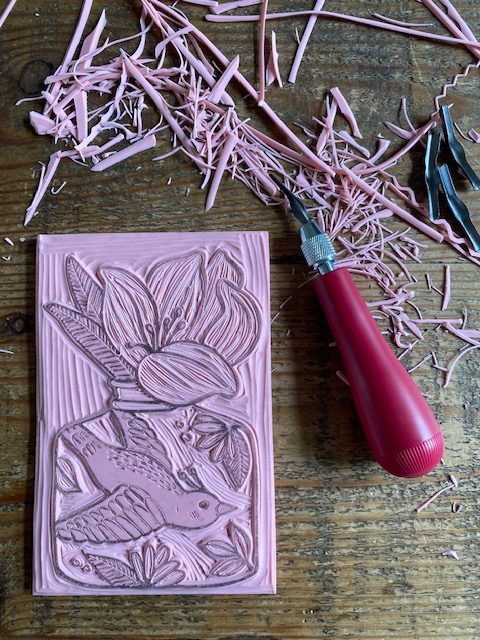
Once you’ve cut everything away, it’s time for a test print.
Tip 4: Make a test print with an inkpad. This way you don’t have to use your block printing ink and rollers yet and you can check in a quick simple way where possibly something needs to be removed.
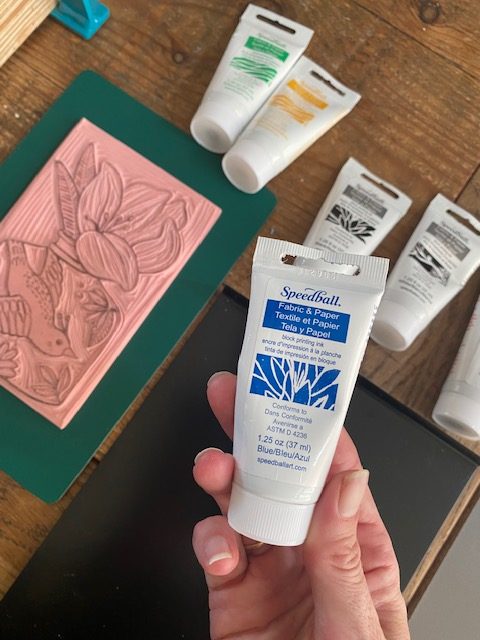
I use Speedball block printing ink for paper and fabric. With 6 base colors, you can easily mix any color you want and it’s at least as much fun to print on fabric with it! But first a test on paper!
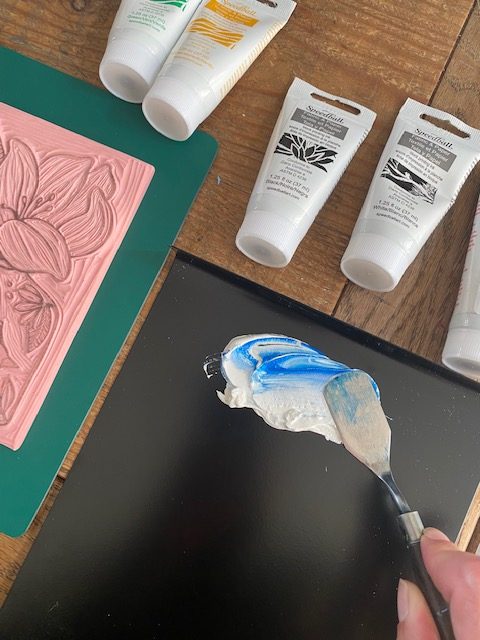
Choose or mix a colour. You can use a spatula to mix the colour. Put the ink at the top of your plate. This becomes the ‘ink reservoir’. Here you can carefully roll out some new ink when the roller is out of ink.
Never use too much ink on your roller. This will definitely not be pretty! And it will cause the details to become dense with ink on your block. You probably need less ink than you aspect.
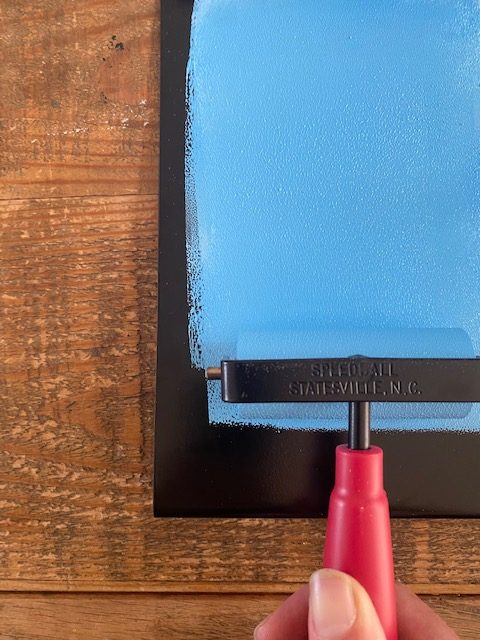
Always roll a tiny bit of ink along on the roller until it is evenly filled with ink. If your roller looks like an orange peel, there is too much ink on it! You can carefully scrape the excess ink off the roller and put it back in the ink reservoir…. and carefully start over.
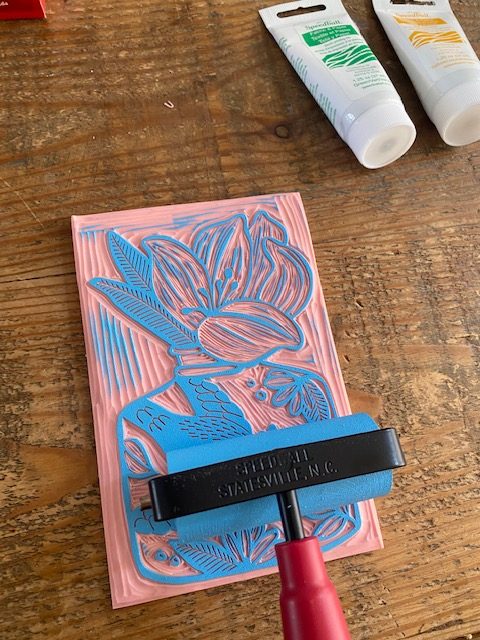
When the ink is even and not too thick on the roller, roll the ink onto your block. Keep rolling until all the “upwards” parts have ink. Do not press too hard on the roller. This will cause the details to fill up with ink. Move the roller from top to bottom and from left to right, this way you can be sure that there is ink everywhere. Now put the roller away and make sure you have no ink on your fingers before you pick up the paper.
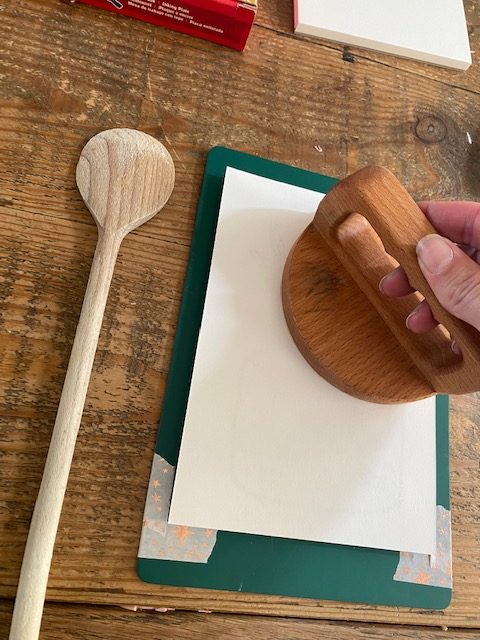
Place the printing paper on the block and gently rub the paper with your hand. This will secure the paper to the block and prevent it from moving around so easily. Use a wooden spoon or a baren to give pressure in a circular motion over the paper.
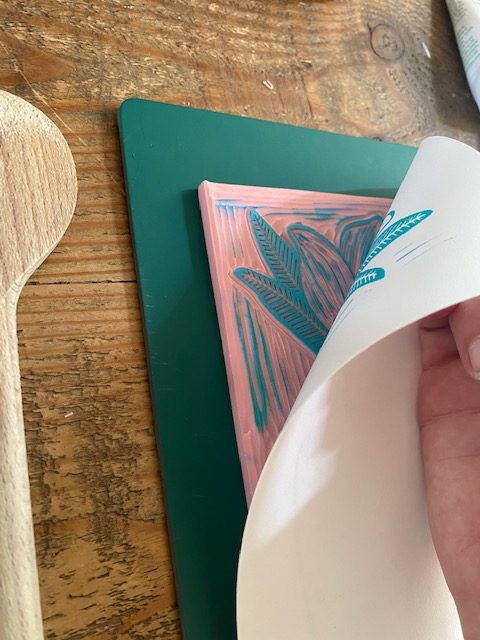
Now you can carefully pull the paper from the block! Always the most fun part of the printing process!!!
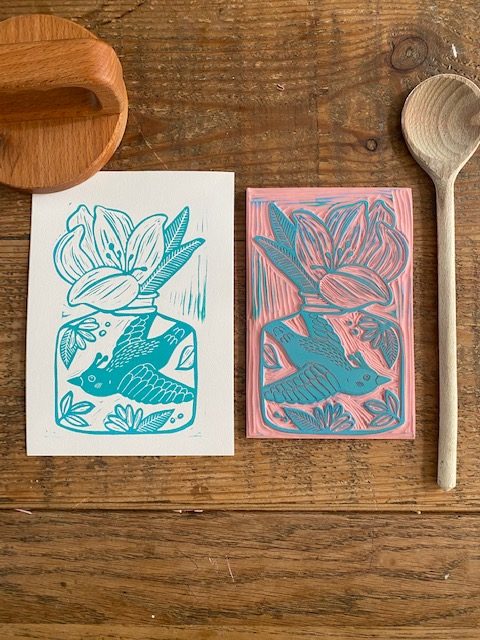
And there’s your test print!!! Maybe you’re happy with it all at once or maybe you want to make some minor changes.
I’m just removing some stripes on the left side of the block. I like a little movement but this is just too much.
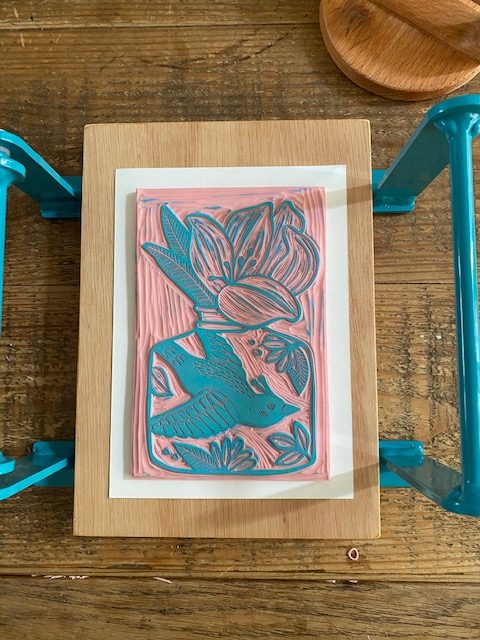
Time to put my A5 Woodzilla press to work!!! Printing with the Woodzilla’s is a joy and has made my printmaking so much more efficient. I highly recommend investing in a press if you plan on making more prints. There is a size press for every project and you can even choose from lots of different colors.
Each press comes with a felt mat. You can experiment with the felt. For this print I don’t need the felt. But with thicker paper or larger blocks it is absolutely recommended!!
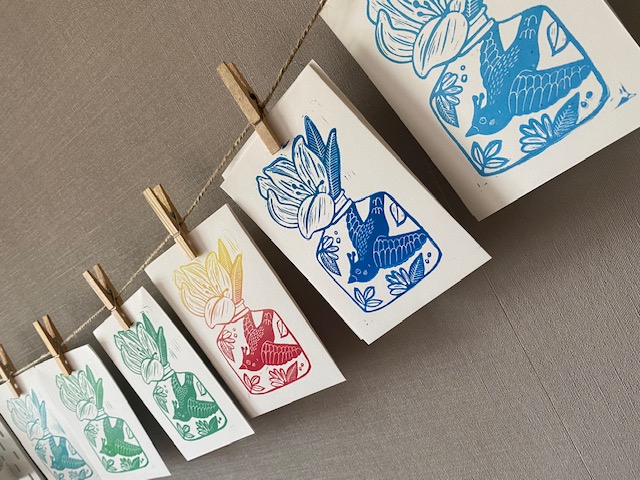
My studio filled with summer colors!

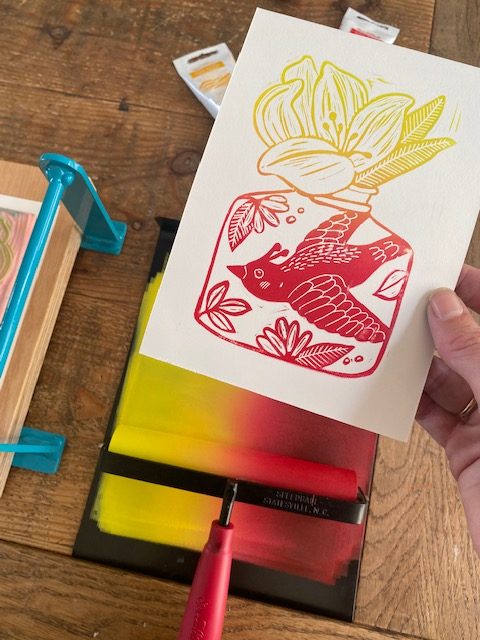
The possibilities with block printing are endless. Variations in color, on different textures of paper… or fabric printing. How about a shirt with your own print on it!!!
Hopefully I was able to get you excited about blockprinting. If you like to support me with a nice cup of tea, I would really appriciate (cupe of tea)
You can follow my work on instagram @studio.tokek or on my website www.Studiotokek.com
The Woodzilla presses and barens can you find via www.woodzillapress.com or in the USA www.speedballart.com